W is for Wall Tie Failure and Replacement
In this episode of our A-Z of Atlantis Damp & Timber Proofing Specialists Ltd, W is for…… Wall Tie Failure and Replacement
What is a wall tie?
If your home was built between 1920 and 1981, it’s probably of cavity wall construction. Therefore, your home could be prone to wall tie corrosion and failure. This is approximately 10 million homes in the UK!
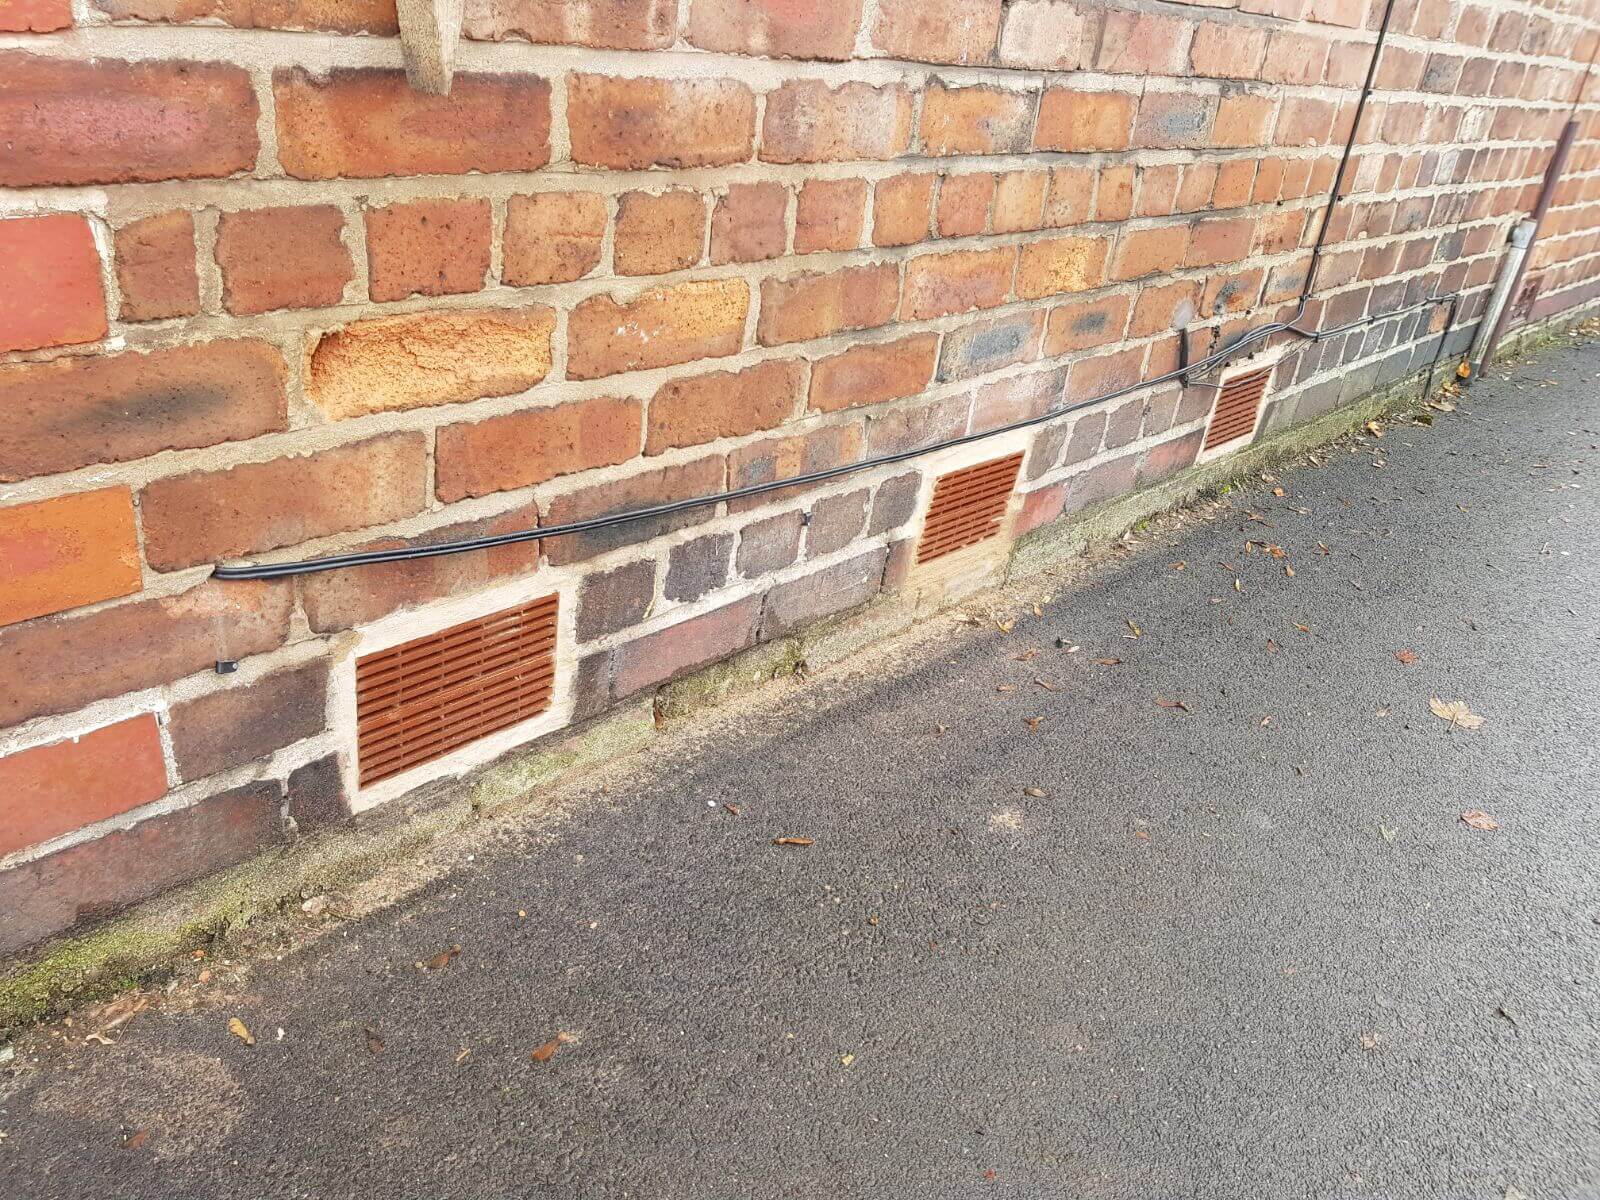
Typically, in your home, there is an outer leaf of 100mm thick brickwork, a 50mm wide cavity, and an inner leaf of 100mm thick blockwork. The outer and inner leaves of your property are tied together with wall ties. Your wall ties are usually 900mm apart horizontally and 450mm vertically. Additionally, they are usually galvanised steel. You should know that older ties often had a relatively thin layer of galvanising, not adequate to stop the steel corroding.
A wall tie is a steel bar, strap or twisted wire which is built into your properties cavity wall to hold the masonry together; usually made of mild steel. Wall ties are absolutely crucial to the stability of your external walls.
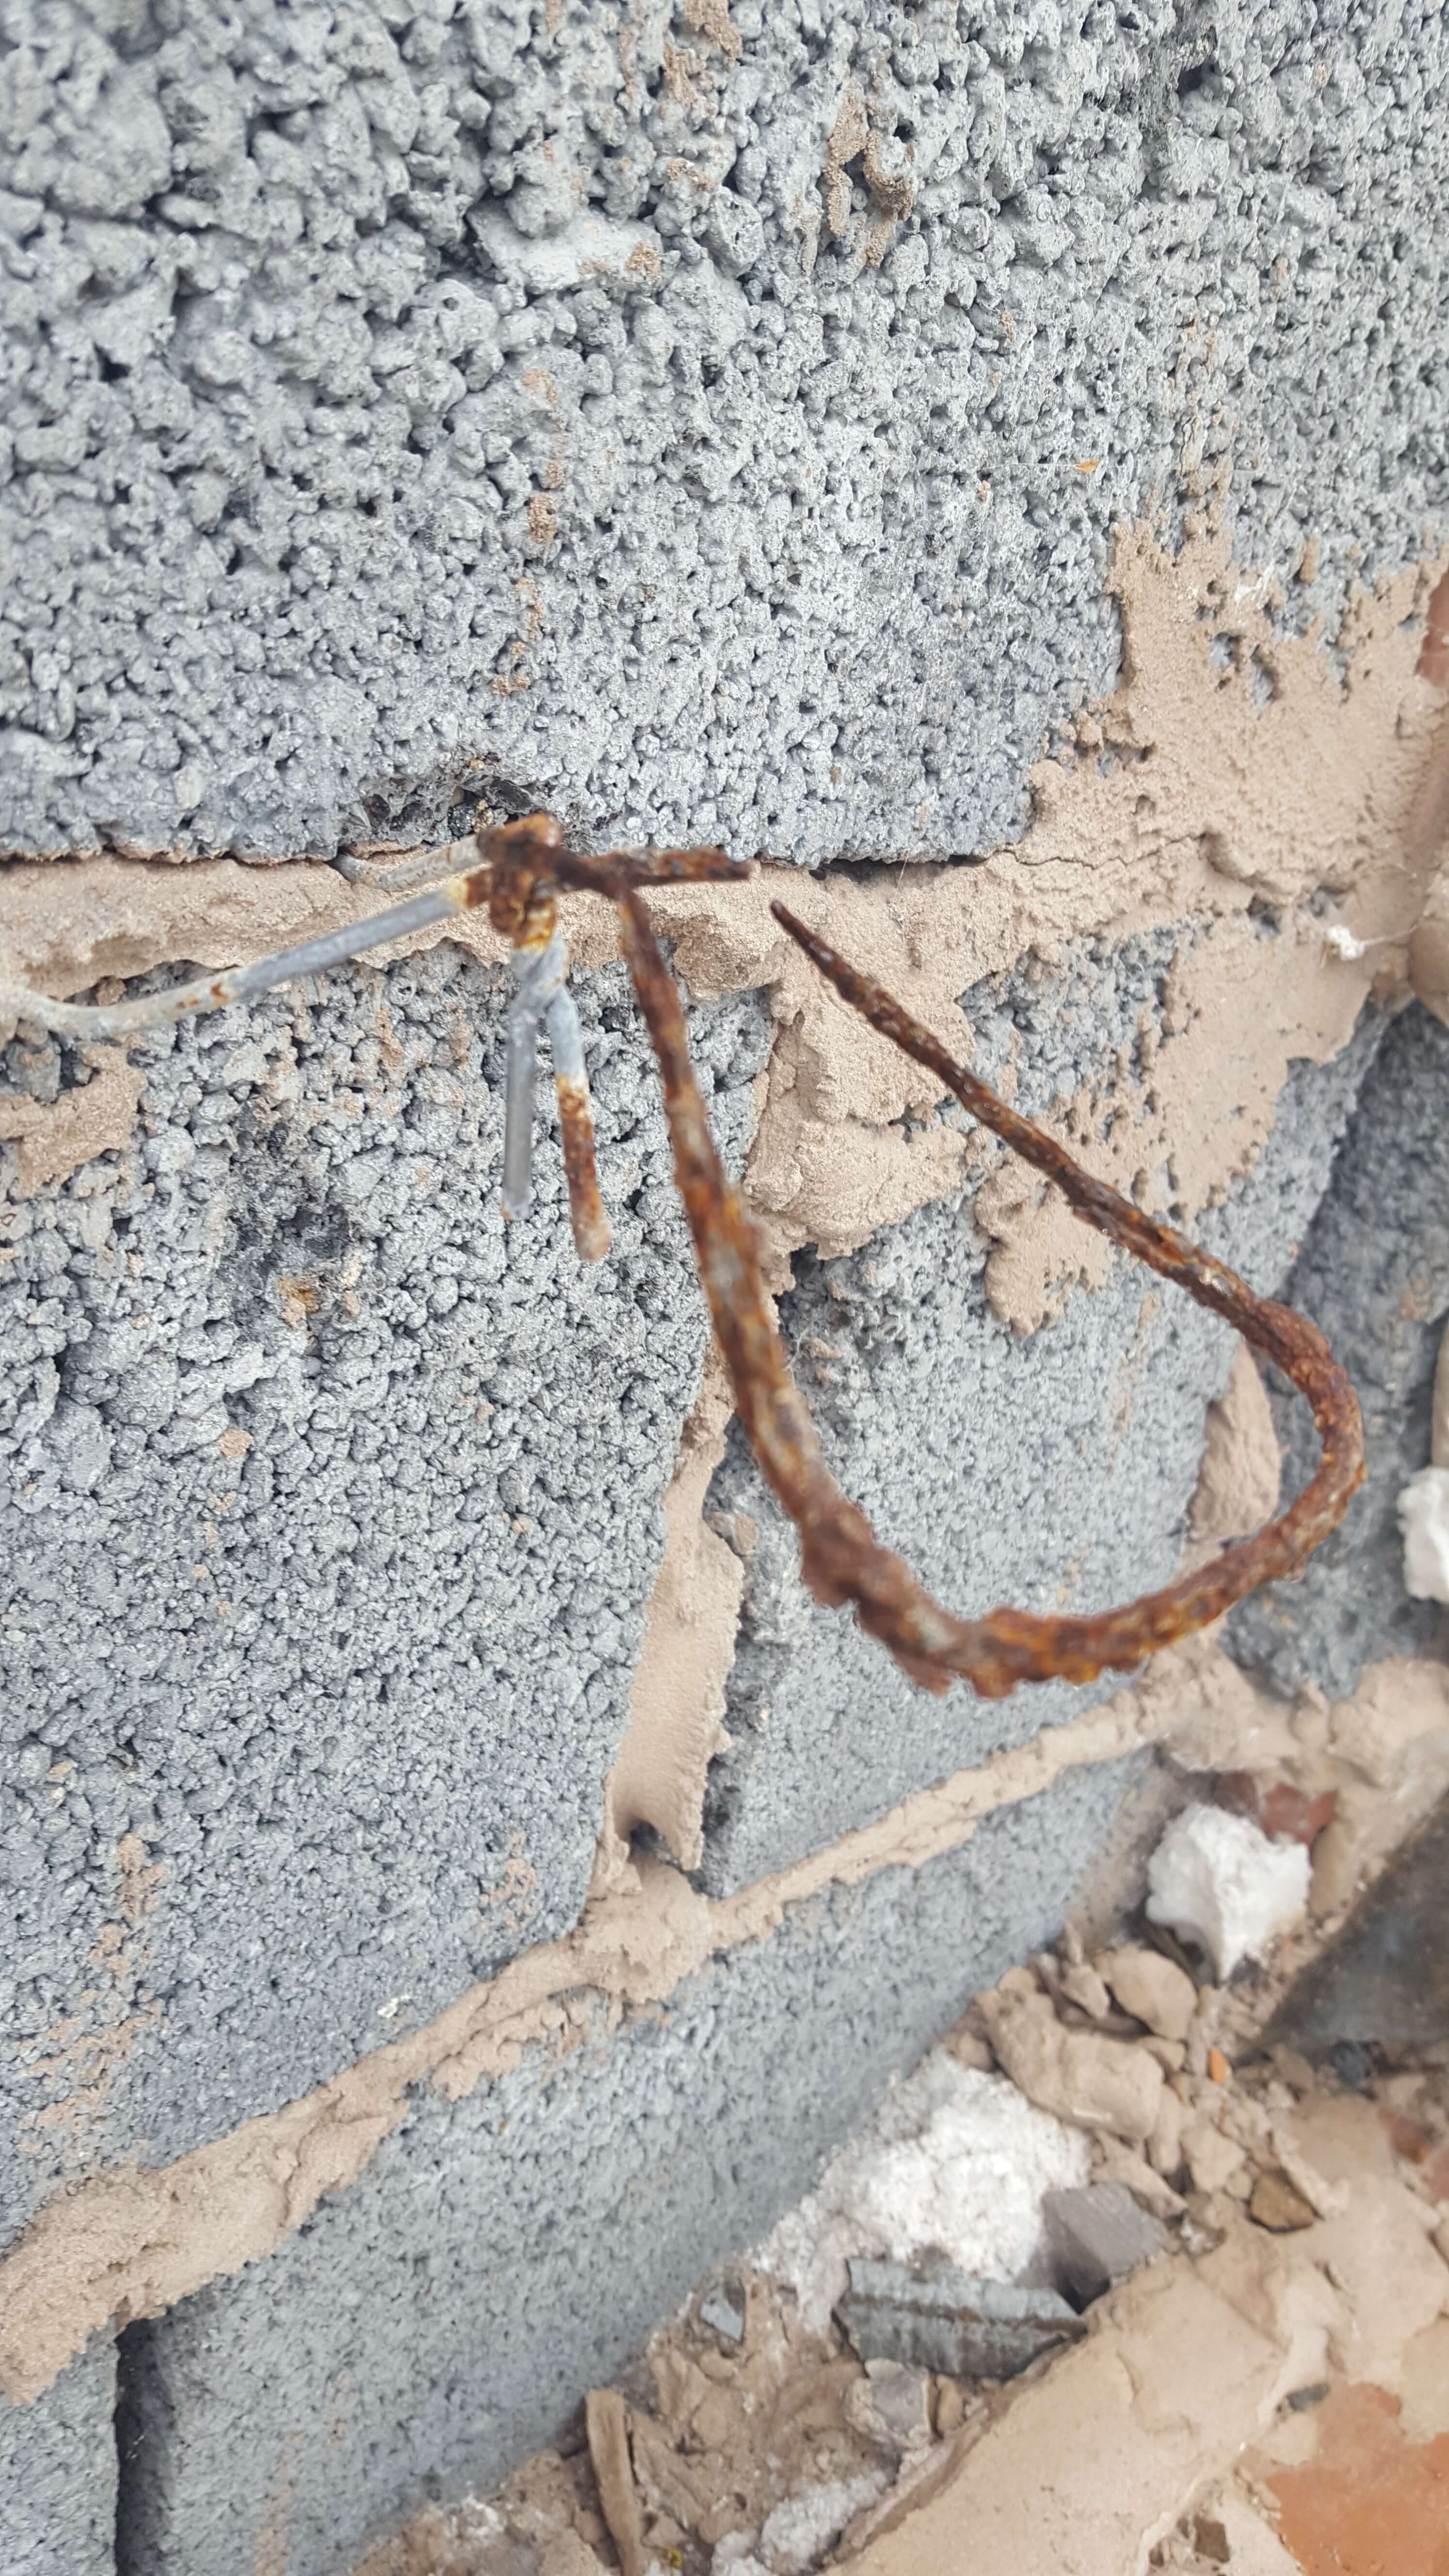
If you have older ties, these were made of a thick mild steel bar formed into the shape of a fishtail. If your wall ties are more modern, they are made of a twisted wire and form the shape of a butterfly.
Why do Wall Ties fail?
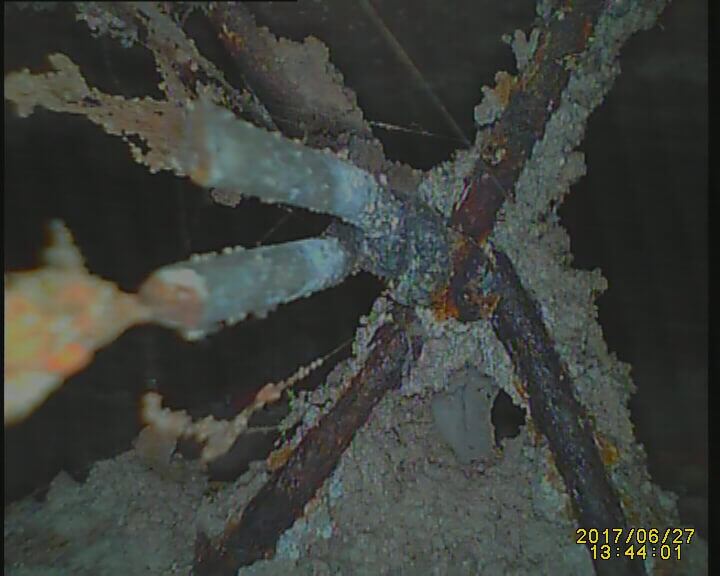
If the steel of your wall ties is exposed to air and oxygen, the all-too-familiar rusting cycle begins.
This rusting of your wall ties can lead corrosion and failure of the wall tie in your property. If this occurs, there is a distinct risk of your outer leaf collapsing, especially under high winds which cause suction on the face of the wall.
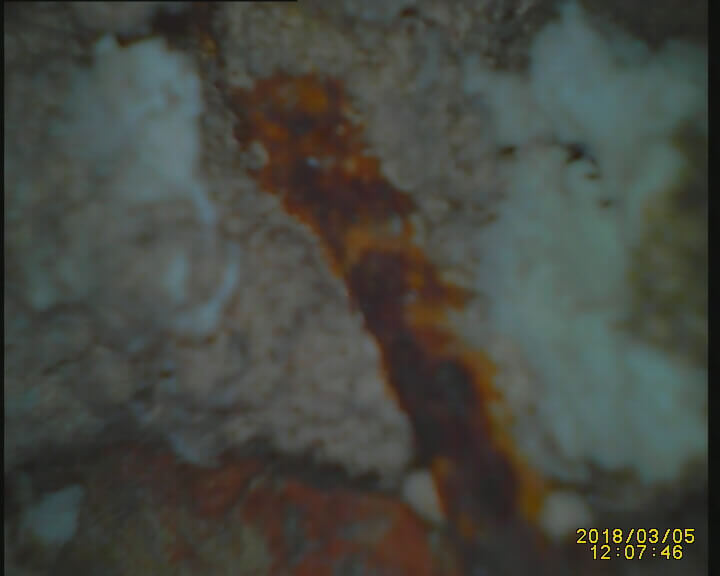
Another issue is the increased volume of the steel, causes the mortar on the walls of your home to split and lift. Developing rust occupies a greater volume than the original steel. Therefore the expansion of the tie in the bed joint forces it to crack. Cracks running along the bed joints of your property, every 450mm up the wall. Therefore, they are a definite indication of wall tie corrosion in your home. This is where you may see bulging in the wall.
What are the signs of Wall Tie Failure?
- Horizontal cracking may be evident on your walls– at regular intervals in your external mortar joints
- Outward bulging of the wall may be seen– joints widen causing the wall to deflect outwards, often around your window frames
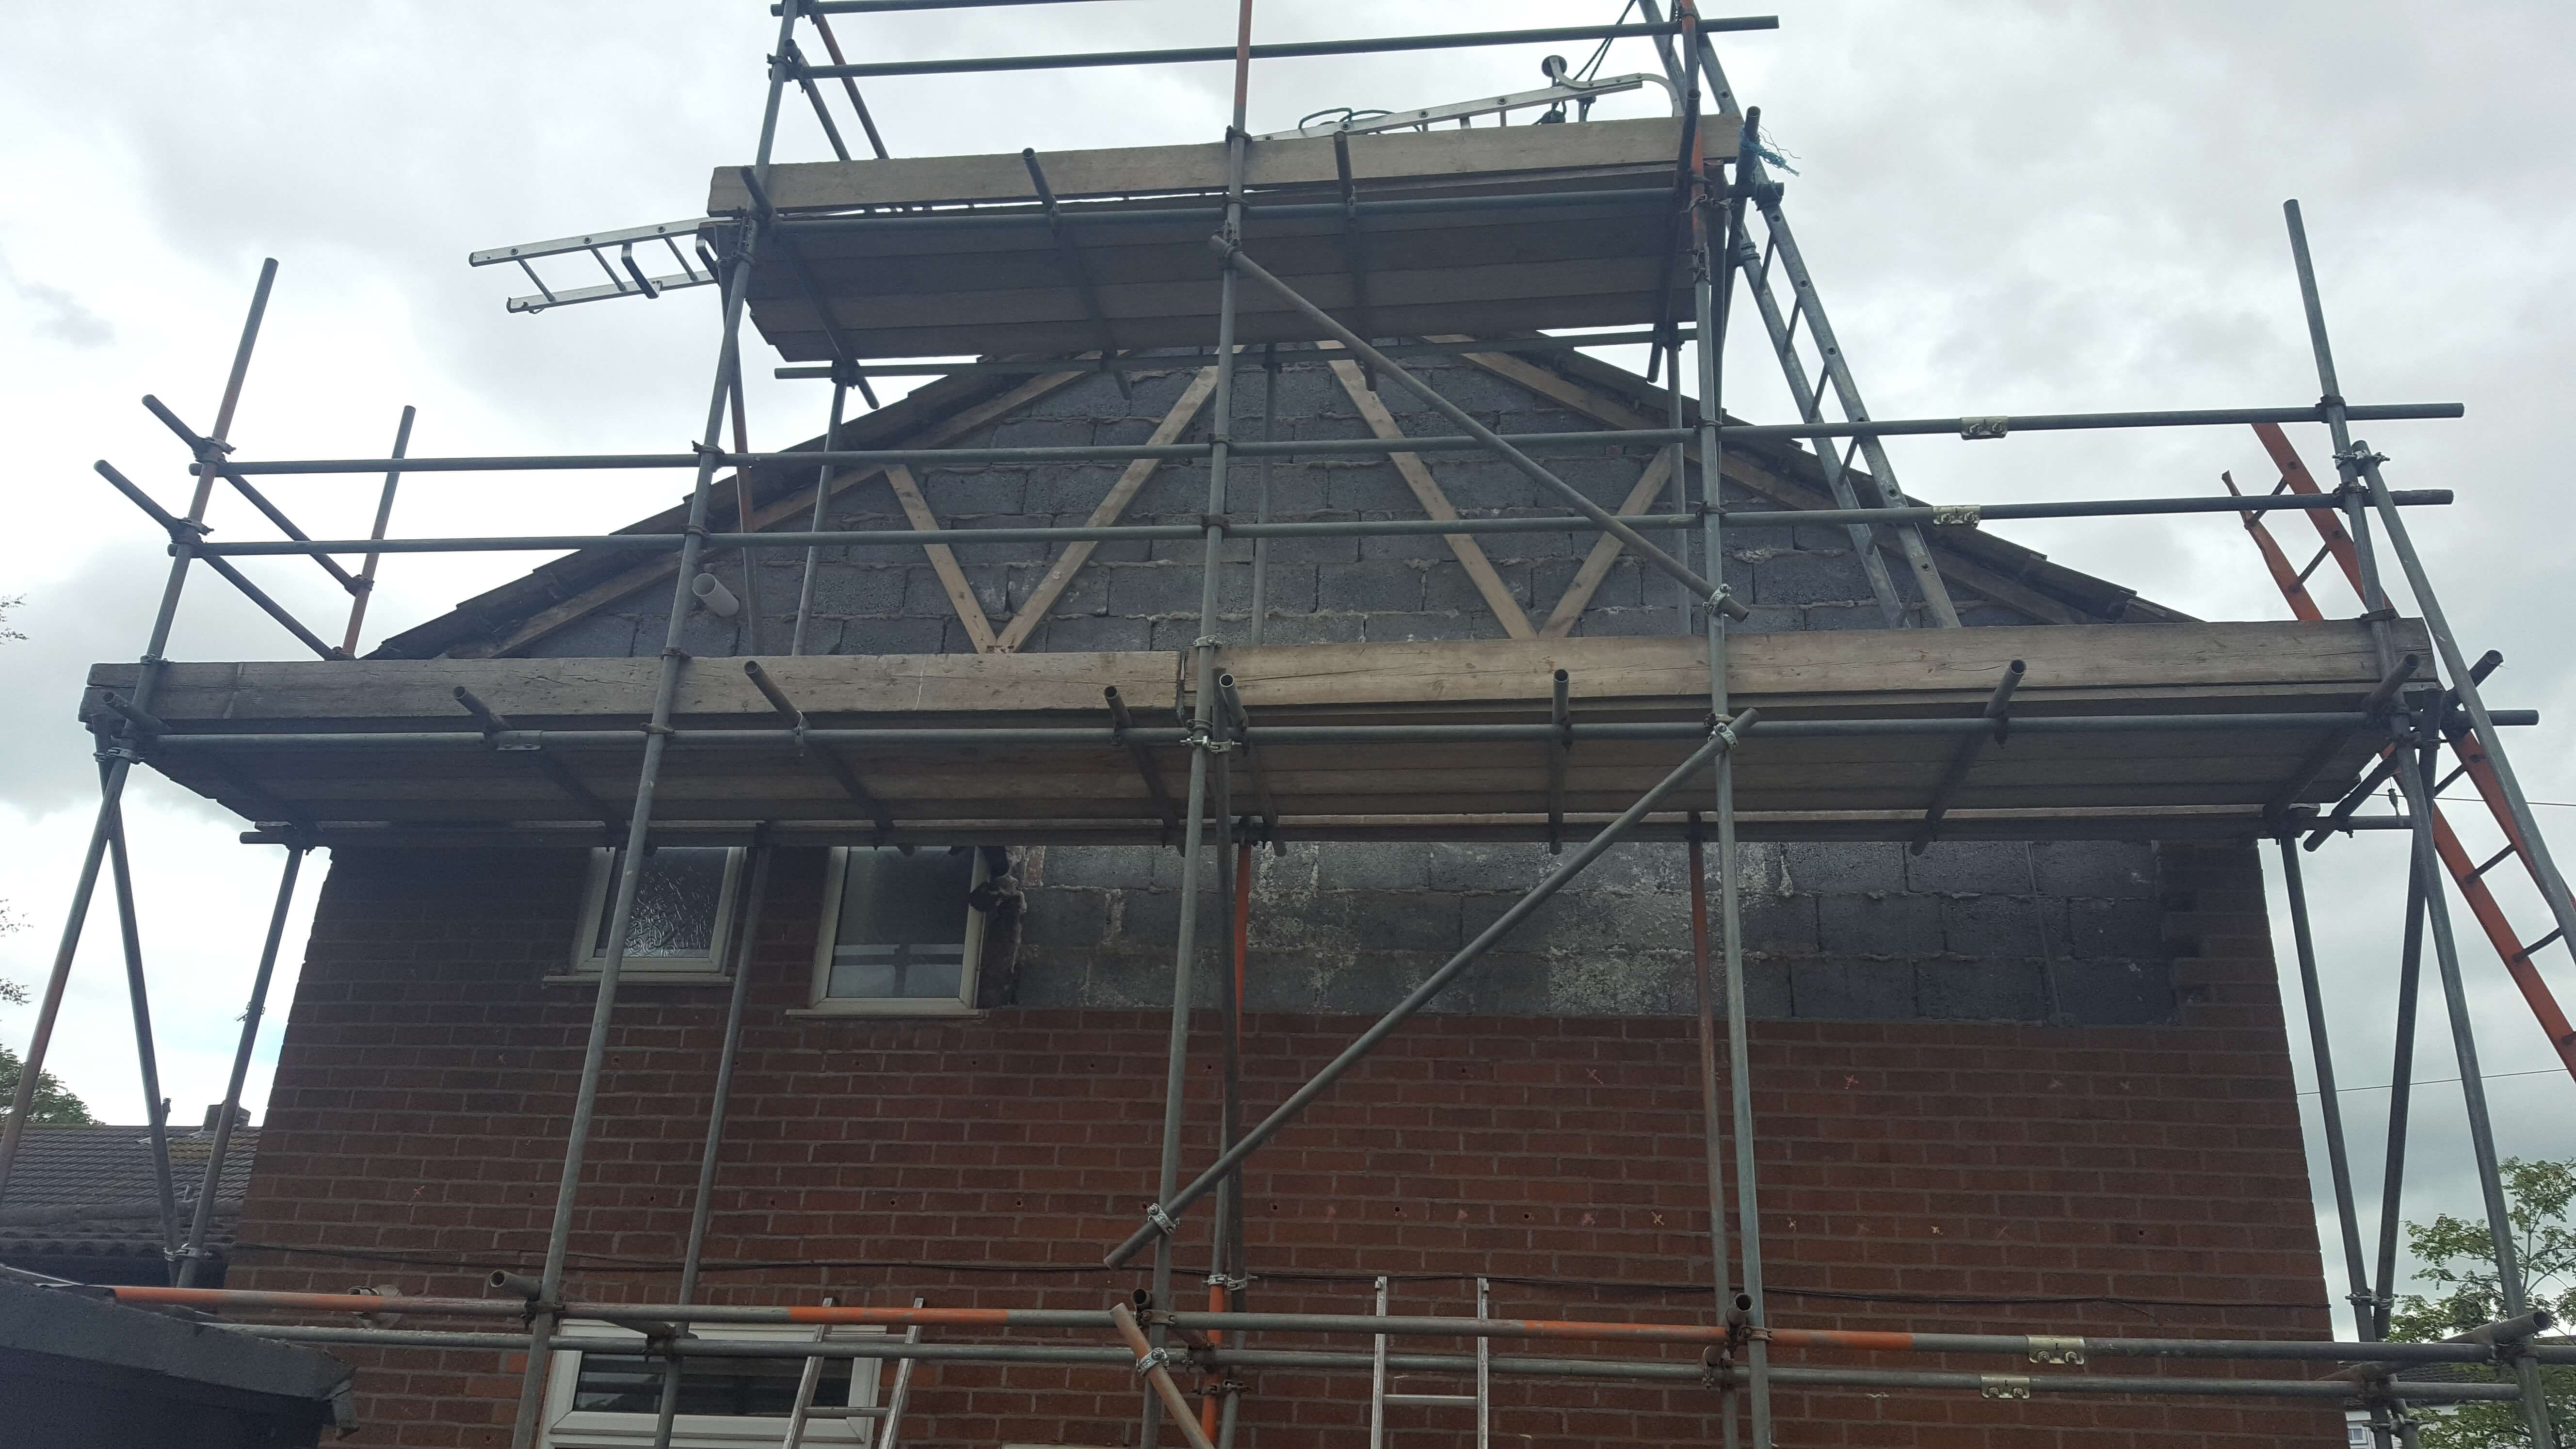
- You may see the lifting of roof edges– at your gables, the growth of brickwork can cause a noticeable ‘pagoda’ effect
- You might notice internal cracks– vertical cracks may be found at internal wall junctions in your home & horizontal cracks appear at internal wall and ceiling joints
- Your render coats may start to crack
What causes wall ties to corrode?
- Inadequate protection– prior to 1945 wall ties were not produced to any particular standard, hence standards may be poor.
- Substandard galvanisation– the British Standard for the weight of galvanising was reduced between 1964-1981, therefore standards were reduced
- Chemical action – corrosive black ash mortar may have been used if your property was built after 1938
- Geographical location of the property– Your property may be along the coast, therefore susceptible to driving rain and salt-laden atmospheres are more at risk.
What if I think I have insufficient wall ties?
Do you think that your property may be affected by insufficient wall ties? The first step is to book a survey with our trained professional to determine the extent of the problem. We will establish the position of existing wall ties is plotted using a metal detector and then an endoscope is used to examine their condition.
We may need to remove bricks for the physical examination of sample ties.
Jamie, our fully qualified Wall Tie surveyor, is trained to a high standard and can carry out a thorough wall tie survey for a small survey fee. If our wall tie survey indicates the need for remedial work, then we will provide a detailed schedule of the proposed repair along with a quotation.
We promise to be competitively priced whilst still offering high-quality repairs that you can trust. All our quotations are issued on a fixed price basis and our reputation is your assurance of quality and fair practice.
What can you expect from our survey?
Investigation – We collection of information about type and condition of masonry, cavity width, type and condition of existing wall ties etc…
- Isolation/removal of existing wall ties depending on condition.
- Specification – choice of remedial wall tie type – density and layout of remedial wall ties.
- Installation of replacement wall ties
- Quality control – visual checks, torque testing, etc…
The installation of replacement wall ties:
At Atlantis Damp, we have fully trained experienced technicians who will work with Jamie to carry out any required remedial work.
We can provide a range of alternative wall tie designs are available: resin, drive tie or cementitious. Depending on the type and condition of your masonry. In most c,ases your existing ties are isolated to prevent further corrosion.
Formed in austenitic stainless steel, your replacement ties are available in differing lengths to suit cavity widths up to 110mm. All designs incorporate a drip detail to prevent transmission of water across the cavity.
Atlantis are full members of The Wall Tie Installers Federation and the Property Care Association and offer full independent insurance backing (10 Years) in addition to our own long-term Guarantees.
Contact us now on 0800 098 8277 and we will survey your property. If necessary, we will complete remedial treatments such as isolate corroded wall ties and install new stainless steel ties. This will protect your walls for many years to come preventing future structural defects and saving you thousands of pounds.
The post W is for Wall Tie Failure and Replacement appeared first on Atlantis Damp.
source https://www.atlantisdamp.co.uk/blog/w-is-for-wall-tie-failure-and-replacement/